A derelict cottage can hide serious structural movement behind apparently sound plaster, so don’t begin by stripping finishes or removing debris. First, secure the site, document hazards, confirm ownership and permissions, and arrange professional inspections. You’ll need to assess foundations, walls, floors, the roof, utilities, damp, rot, asbestos, and pests before setting a budget or work sequence. The condition of these hidden elements will determine what you must do next.
Key Takeaways
- Verify ownership, permissions, planning requirements, building regulations, and listed-building or environmental approvals before starting work.
- Survey the site safely for unstable structures, hazardous materials, contamination, pests, moisture, and unsafe access routes.
- Commission detailed inspections of foundations, walls, floors, roof, timber, drainage, and other structural elements before disturbing the building.
- Locate, test, document, and safely disconnect electrical, gas, water, heating, septic, and other utility services through licensed professionals.
- Create a sequenced renovation plan prioritizing urgent stabilization, obtaining comparable quotations, and allowing a 15–20% contingency.
Survey the Cottage and Secure Immediate Hazards
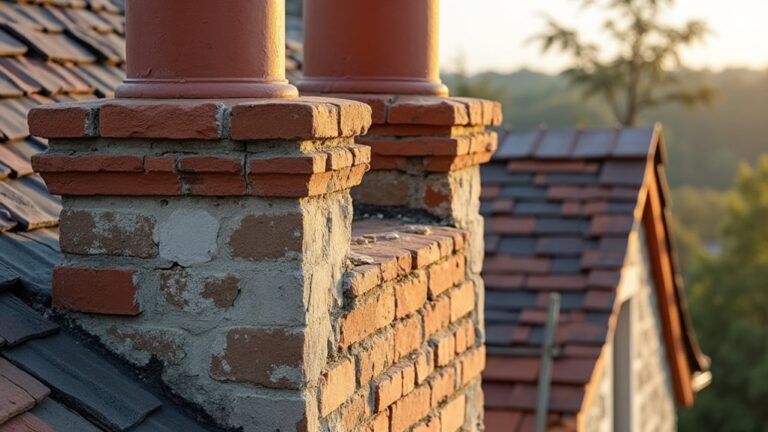
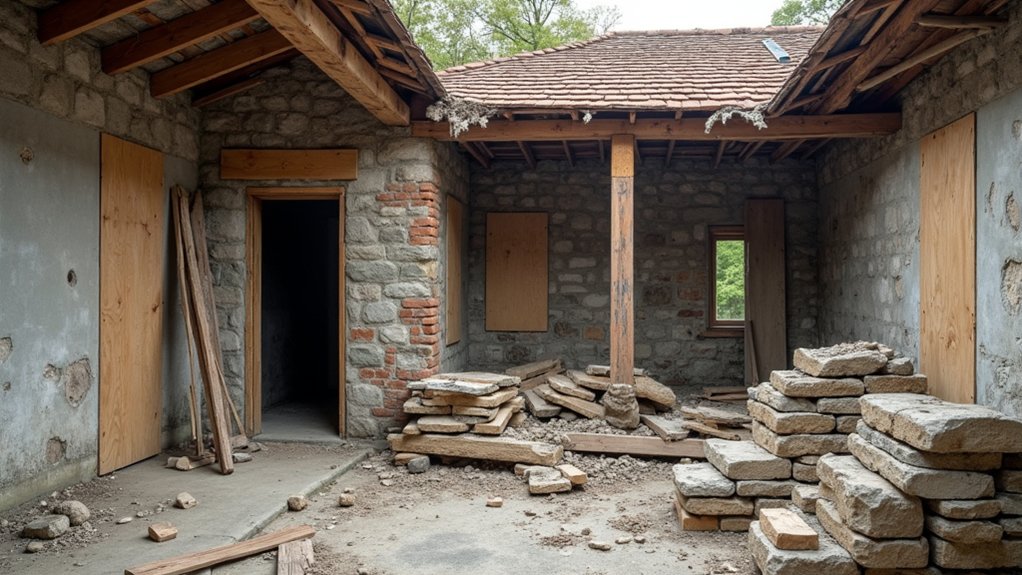
Before any renovation work begins, survey the cottage from a safe distance and identify conditions that could cause immediate injury or further damage. Look for unstable walls, sagging roofs, loose masonry, broken glass, exposed wiring, standing water, and signs of fire or chemical contamination.
Don’t enter until you’ve assessed access points and escape routes. Establish a no-entry zone beneath unstable elevations, then keep children, pets, and unauthorized workers outside it.
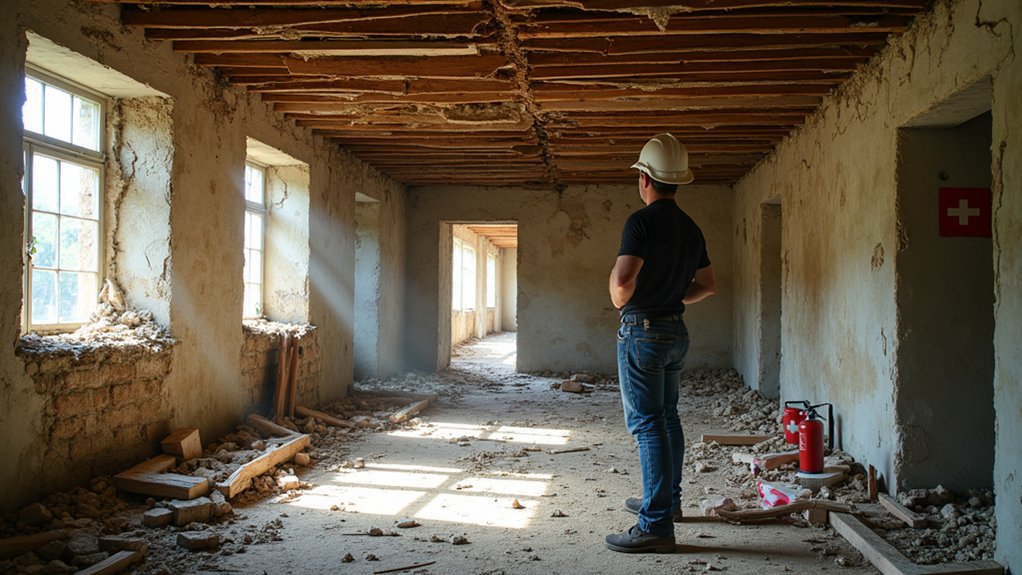
Wear a hard hat, safety boots, gloves, eye protection, and a respirator when conditions require.
Arrange professional testing for suspected asbestos, mold, fuel, or hazardous waste.
For hazard removal, isolate utilities only when you can do so safely; otherwise, call qualified specialists.
Document every danger with photographs and notes, and implement safety precautions before any debris moves or equipment arrives.
Check Permissions, Ownership, and Renovation Rules
Before planning work, verify that you legally own the cottage and resolve any boundary, access, or title issues.
Confirm whether your renovation requires planning permission, building regulations approval, listed-building consent, or other local authorisations.
Don’t order materials or begin demolition until you’ve checked the relevant records and secured written approvals.
Verify Property Ownership
Confirm that you own the cottage—or have written authorization from the legal owner—before arranging surveys, clearing the site, or commissioning structural work.
Begin ownership verification by obtaining an up-to-date title register, deed, or equivalent land record from the relevant authority. Check the registered owner’s name, property boundaries, access rights, mortgages, restrictions, and easements.
If the cottage belongs to an estate, trust, company, or multiple owners, identify every person who must approve the renovation.
Ask a conveyancer or property solicitor to interpret unclear entries and resolve discrepancies before work starts.
Keep copies of all legal documentation, including purchase records, probate papers, powers of attorney, and signed owner permissions.
Don’t rely on verbal assurances or outdated paperwork.
Secure written consent for contractors, deliveries, temporary access, and site clearance.
Confirm Planning Permissions
Planning rules can affect nearly every part of a derelict-cottage renovation, so contact the local planning authority before altering the building, removing structures, changing its use, or starting external works.
Ask which applications you need, including a building permit, listed-building consent, conservation-area approval, or demolition consent.
Provide current photographs, ownership documents, measured drawings, and a clear description of the proposed work.
Check zoning compliance for residential use, extensions, access, parking, drainage, and any agricultural or environmental restrictions.
Confirm whether permitted development rights apply; they may be limited or excluded for protected cottages.
Request written confirmation of requirements and keep every decision, condition, and reference number.
Don’t order materials or begin clearance until approvals are granted.
Also verify whether building-control inspections, ecological surveys, or neighbor notifications are required before construction starts.
Inspect Foundations, Walls, Floors, and Roofs
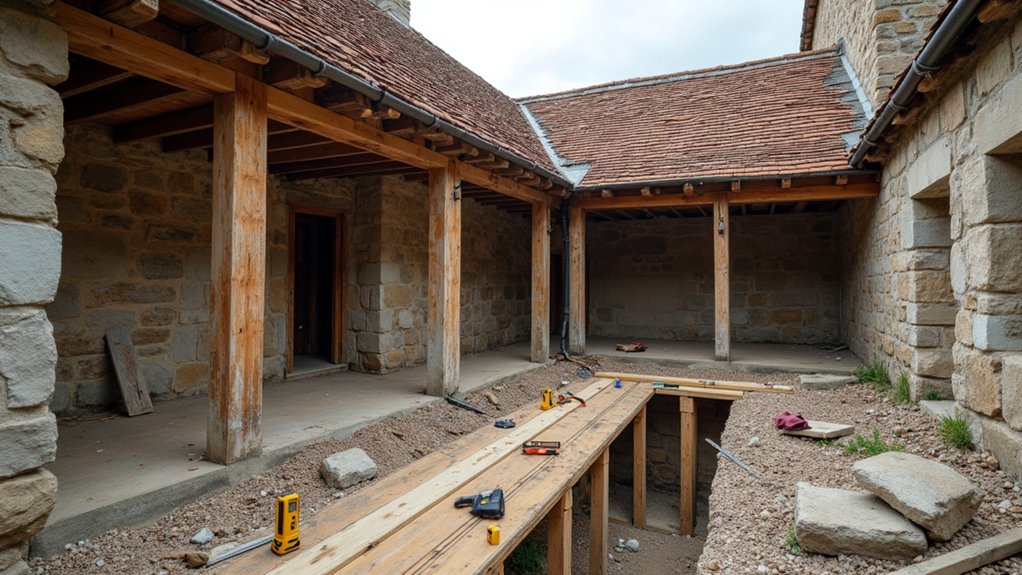
Inspect the foundation for settlement, cracking, movement, and signs of water damage before planning repairs.
Examine walls for bowing, structural cracks, decay, and damaged masonry. Then check floors and roofs for sagging, rot, leaks, and unsafe loads.
You’ll need a qualified structural professional to assess serious defects and specify appropriate temporary support.
Assess Foundation Stability
Before any demolition or renovation work begins, determine whether the cottage can safely support further activity by examining the foundation, load-bearing walls, floors, and roof.
Start with the foundation: expose obscured areas carefully, then look for settlement, horizontal cracking, bulging, displaced blocks, water damage, and gaps beneath walls.
Test soil stability around the perimeter, noting erosion, saturated ground, tree roots, or recent drainage changes that could cause movement.
Identify foundation materials, such as stone, brick, concrete, or timber, because each responds differently to moisture and loading.
Check floors for sagging, springy sections, or uneven progressions that may indicate failing supports below.
Inspect the roof from a safe position for sagging ridges, spreading walls, damaged trusses, and excessive deflection.
Stop work and consult a structural engineer if movement appears active, significant, or uncertain.
Examine Wall Condition
Examine every wall for leaning, bowing, bulging, stepped masonry cracks, open joints, and separation at corners or where walls meet floors and roofs. Record each defect’s location, length, width, and direction, then photograph it with a scale for comparison.
Check whether cracks pass through masonry or follow mortar joints; note displaced units, loose stones, and failed lintels. Tap rendered areas carefully and mark hollow sounds that may indicate detachment. Scrape a small exposed sample to assess mortar softness, erosion, and incompatible hard repairs.
Look for damp staining, salt deposits, biological growth, and timber embedded in walls, because moisture can reduce wall integrity. Probe only unstable material, and don’t disturb suspected load-bearing sections.
If movement appears active or masonry threatens collapse, restrict access and arrange an engineer’s assessment before work proceeds. Evaluate the surface condition separately from structural defects.
Inspect Floors and Roofs
Check floors for sagging, springiness, unevenness, rotten boards, failed joists, and gaps at wall edges, then trace each defect to its likely cause. Probe timber with an awl, expose representative areas, and photograph every finding.
Map floor framing, bearing points, moisture damage, insect attack, and alterations before removing anything. Don’t load unsafe sections; cordon them off and have a structural engineer assess doubtful members.
Inspect the roof from the ground, loft, and, if safe, the exterior. Record displaced slates, failed tiles, damaged rafters, distorted trusses, blocked gutters, and daylight through the covering.
Look for water staining, mould, and compressed or missing roof insulation. Check whether ventilation is adequate and whether leaks have reached wall plates or ceilings.
Support unstable areas, control rainwater immediately, and sequence repairs only after confirming the load path.
Test Utilities and Plan Safe Disconnections
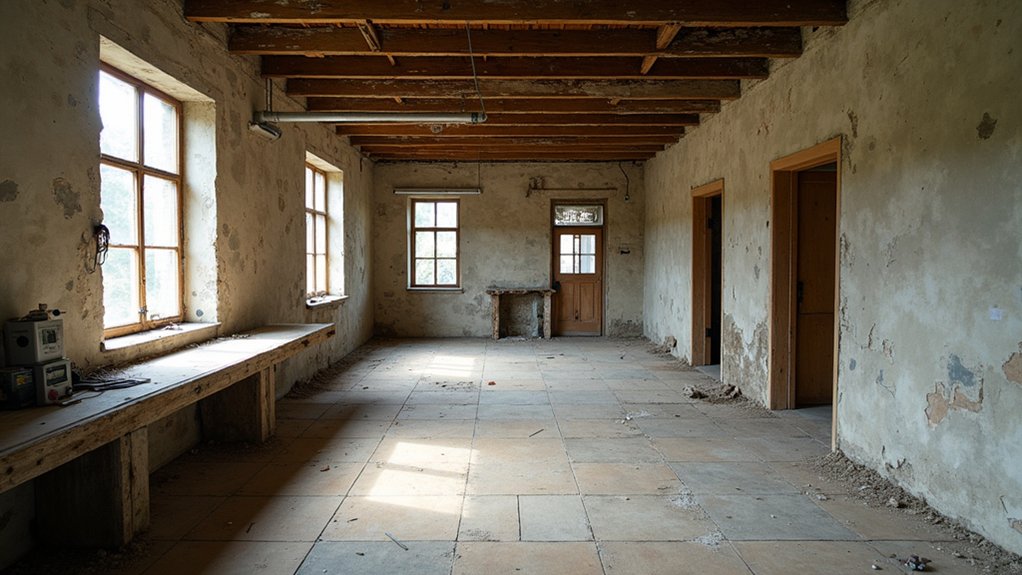
Treat every utility as live until a qualified professional verifies otherwise: locate the electrical service, water and gas shutoffs, heating equipment, septic connections, and any temporary or improvised supplies, then document their routes and condition.
Arrange utility testing before demolition. Have licensed technicians check electrical circuits, gas pressure, water lines, heating systems, and septic components; don’t energize damaged equipment or rely on labels.
Record meter readings, isolate unknown circuits, and photograph connections before altering anything.
Build a disconnection planning schedule that matches the renovation sequence, allowing time for permits, utility-company attendance, and safe draining or purging.
Mark shutoffs clearly, keep access unobstructed, and notify everyone on site.
Obtain written confirmation that each service is disconnected, locked out, and safe before structural work begins.
Keep emergency contacts and a site map available.
Investigate Damp, Rot, Asbestos, and Pests
Before opening walls or lifting floors, identify damp, decay, asbestos-containing materials, and pest activity through a controlled survey.
Arrange a thorough Mold assessment, using moisture meters, thermal imaging, and targeted samples where needed.
Trace leaks, rising damp, condensation, and damaged drainage, then mark affected areas without disturbing finishes unnecessarily.
Probe exposed timber for softness, fungal decay, and concealed beetle damage; record locations and photographs.
Treat every suspect board, insulation product, textured coating, or adhesive as asbestos-containing until a qualified surveyor tests it.
Don’t cut, sand, drill, or remove suspect materials.
Look for droppings, gnaw marks, nests, insect exit holes, and odours indicating Pest infestation.
Keep people out of contaminated zones, improve ventilation only when safe, and use licensed specialists for asbestos sampling, eradication, and hazardous waste removal.
Preserve survey records for site safety.
Build a Structural Renovation Plan and Budget
Use the survey findings to define the renovation’s scope, sequence, and cost. List urgent structural repairs first, including unstable walls, failing foundations, damaged roof members, and unsafe floors.
Divide the work into priced packages, then add design fees, permits, inspections, temporary protection, waste removal, and a contingency of at least 15–20 percent for concealed defects.
Obtain comparable written quotations that identify labor, materials, taxes, exclusions, and payment stages.
Confirm material selection against the engineer’s specifications, local regulations, availability, durability, and compatibility with the cottage’s existing fabric.
Build contractor coordination into the programme, assigning responsibility for engineering information, approvals, deliveries, and quality checks.
Set realistic milestones, document assumptions, and update the budget whenever survey evidence or quotations change.
Keep a cash reserve, and don’t commit until funding covers the complete structural sequence.
Prepare the Site for Structural Work
Once the renovation plan, funding, and approvals are in place, prepare the site so structural work can proceed safely and without avoidable delays. Begin with a documented inspection, noting unstable walls, loose masonry, hidden voids, asbestos risks, and overhead hazards.
Arrange utilities to be isolated, capped, or clearly marked before demolition or excavation starts.
Complete site clearance by removing rubbish, vegetation, unsecured fixtures, and combustible materials, while sorting salvage and disposing of hazardous waste through licensed contractors.
Establish secure access for workers, deliveries, and emergency services. Install robust fencing, lockable gates, lighting, and Safety signage that identifies restricted areas, required protective equipment, and emergency contacts.
Protect neighboring structures, trees, drainage routes, and public paths.
Finally, create a level, stable material-storage area and confirm that temporary weather protection can withstand expected conditions.
Conclusion
Preparing a derelict cottage isn’t merely clearing rooms—it’s creating a controlled, documented starting point for safe structural work. You’ll need to verify ownership and permissions, survey every defect, test utilities, and arrange specialist checks for asbestos, damp, rot, and pests. Then set a realistic budget, sequence repairs, secure the site, and plan waste removal. Treat each precaution as a foundation stone: the better you prepare, the safer, smoother, and more compliant your renovation will be.
About the Author