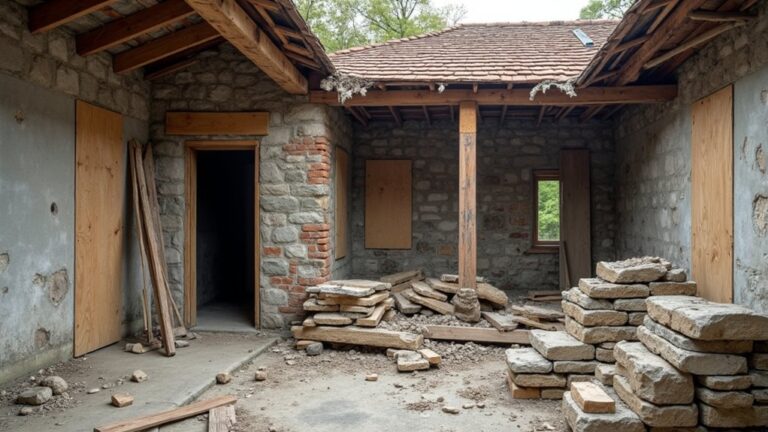
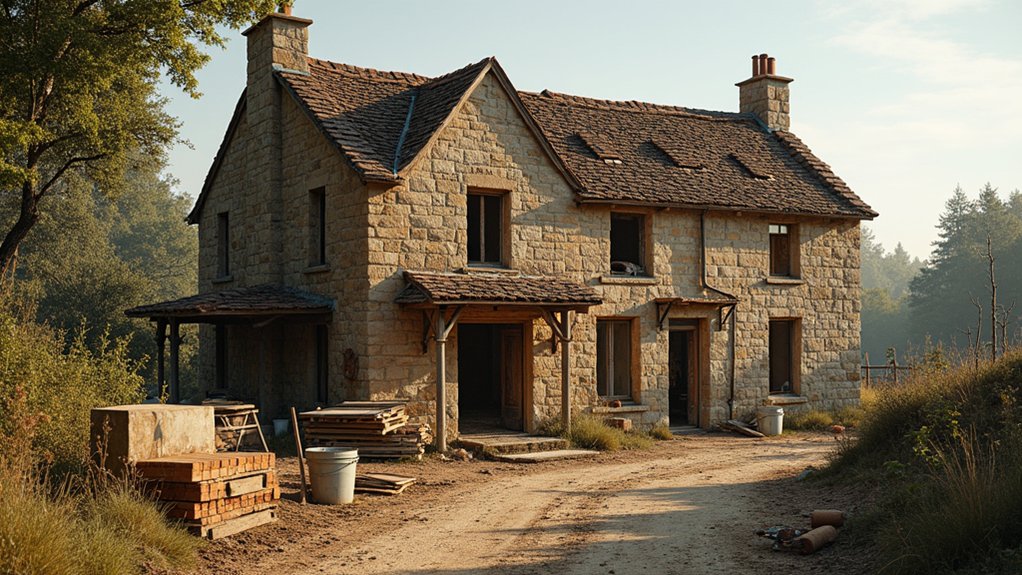
Renovating a derelict farmhouse takes more than enthusiasm; you’ll need careful planning, realistic costs, and respect for the building’s history. Start by evaluating the structure, services, access, and legal constraints before you commit to the purchase. Then secure professional surveys, permissions, insurance, and a clear budget. From stabilizing walls and roofs to installing utilities and restoring original features, each stage affects the next—and one overlooked defect could change everything.
Key Takeaways
- Commission structural, building, drainage, ecological, and hazardous-material surveys before purchasing or beginning renovation.
- Establish a realistic budget covering repairs, permissions, professional fees, utilities, furnishings, and at least 15% contingency.
- Secure planning, listed-building, building-regulation, insurance, and specialist permits before starting construction work.
- Stabilize foundations, walls, floors, roof structures, plumbing, electrics, drainage, and insulation before addressing cosmetic improvements.
- Preserve original beams, stonework, timber, and finishes while integrating modern services and period-appropriate, breathable materials.
Assess the Farmhouse Before You Buy
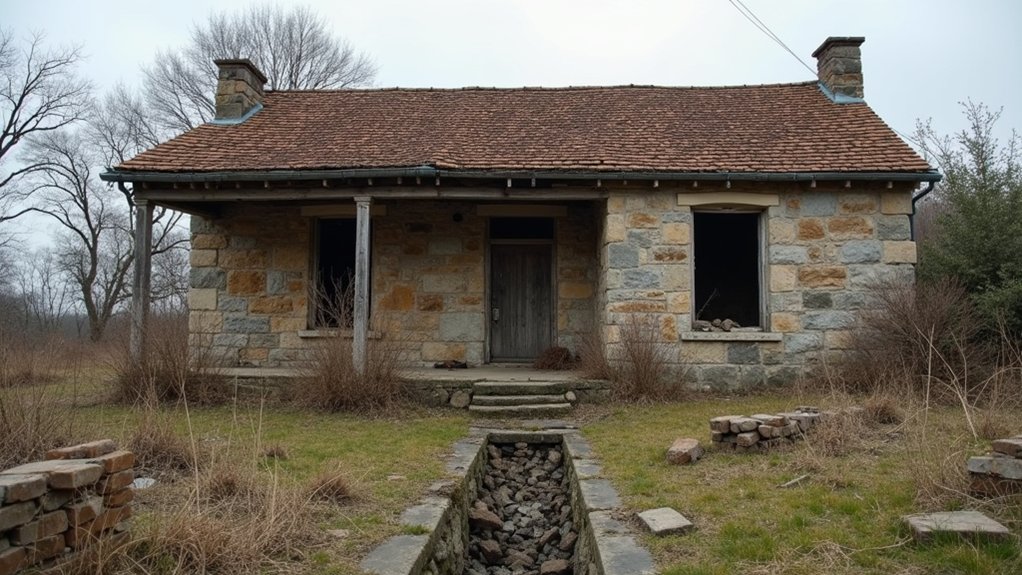
Before you buy a derelict farmhouse, hire a qualified surveyor to assess its structure, roof, foundations, drainage, plumbing, electrical systems, and signs of damp or hazardous materials. Request a written report with photographs, urgent defects, and recommendations for specialist testing.
Inspect access roads, boundary walls, wells, outbuildings, rights of way, and potential flood exposure.
Check planning records, listed-building status, conservation restrictions, agricultural ties, and utility connections with the relevant authorities.
Review title documents to identify easements, covenants, and ownership disputes.
Historical research can reveal original layouts, previous alterations, and protected features you must preserve.
Examine the grounds for invasive plants, unstable trees, contaminated soil, or drainage problems that could limit landscape enhancement.
Don’t rely on the seller’s description; verify every claim before exchanging contracts.
Set a Realistic Renovation Budget
Set your renovation budget only after the survey reveals the farmhouse’s full scope of work. Then divide costs into essential repairs, upgrades, professional fees, permits, taxes, and furnishings.
Rank each item by safety, weatherproofing, structural stability, and daily usability.
Obtain several written estimates for major work, but don’t treat the lowest price as the best value.
Add a contingency of at least 15% for hidden decay, defective services, and material price changes.
During budget planning, separate cash reserves from money you can borrow, and confirm monthly repayments remain affordable.
Create a cash-flow schedule that matches payment dates with available funds.
Use expense tracking software or a spreadsheet to record every commitment, invoice, and variation.
Review totals weekly, approve changes deliberately, and postpone cosmetic purchases if essential costs rise.
Secure Surveys, Permissions, and Insurance
Once the budget is clear, commission the necessary surveys and confirm which permissions the renovation requires. Use appropriate survey methods, including a measured building survey, asbestos inspection, drainage assessment, and ecological checks for bats, nesting birds, or protected species. Ask qualified professionals to explain their findings and provide written reports you can share with designers, contractors, and the council.
Contact your local planning authority before work begins. Determine whether you need planning permission, listed-building consent, building-regulations approval, or permits affecting trees, drainage, access, or septic systems. Keep every approval, condition, and deadline on file.
Arrange specialist renovation insurance before anyone enters the site. Check that your policy includes adequate insurance coverage for public liability, unoccupied periods, existing structures, contract works, theft, weather damage, and professional fees. Tell the insurer about unusual risks and update the policy as the project progresses.
Make the Farmhouse Structurally Sound
With the survey findings and permissions in hand, address the farmhouse’s structural defects before tackling cosmetic work. Start with foundation stability: clear vegetation, expose suspect areas, and have a structural engineer assess settlement, cracks, drainage damage, and undermining. Don’t excavate beside foundations without professional guidance.
Stabilise inadequate footings using an approved underpinning or reinforcement method, then repair masonry with compatible materials.
Next, inspect load bearing walls, beams, joists, roof plates, and trusses for rot, movement, insect damage, or unsafe alterations. Shore unstable sections before removing any partition, chimney, or floor.
Replace compromised timber like-for-like where possible, and use engineered steel or timber only to the engineer’s specification. Check openings and lintels carefully; temporary supports must remain until permanent work has cured.
Record every repair, obtain required inspections, and keep the site restricted until the structure is demonstrably safe.
Install Modern Utilities and Insulation
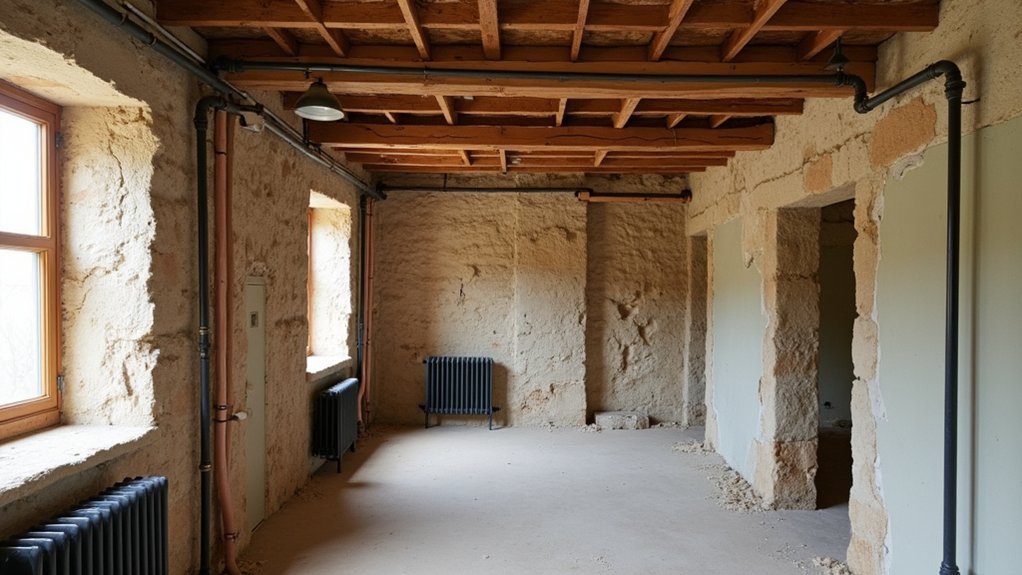
Once the structure is sound, you’ll need to upgrade the electrical system to meet modern safety standards and household demands.
Install reliable plumbing infrastructure, including properly sized supply lines, drainage, and ventilation.
Improve insulation efficiency throughout the roof, walls, and floors to control moisture, reduce heat loss, and lower energy costs.
Upgrade Electrical Systems
How can a derelict farmhouse become safe and efficient without modernizing its electrical system first? Begin with a qualified electrician’s inspection. They’ll trace damaged wiring, test grounding, assess service capacity, and identify code violations before you disturb walls or ceilings.
Replace brittle cables, outdated fuse boxes, and overloaded circuits rather than patching them. Plan circuit breaker installation with dedicated circuits for appliances, heating equipment, workshops, and exterior power.
Add GFCI protection in damp or outdoor locations and AFCI protection where local regulations require it. Your lighting upgrades should combine efficient LED fixtures, task lighting, emergency illumination, and switches positioned for safe access.
Label every circuit clearly, install smoke and carbon-monoxide alarms, and schedule final inspections. Never energize untested wiring; verification protects your family, investment, and insurance coverage.
Install Plumbing Infrastructure
After securing the electrical system, plan the farmhouse’s plumbing before closing walls or pouring new floors. Map every fixture, supply line, drain, vent, and access point, creating a clear Plumbing layout that minimizes bends and avoids structural conflicts.
Confirm municipal requirements, well capacity, septic condition, water pressure, and local permits before you excavate or connect anything.
Base your pipe material selection on water quality, temperature, soil conditions, and accessibility: use approved PEX for flexible interior supply runs, durable PVC or ABS for drains, and suitable exterior-rated piping underground.
Install shutoff valves at the main entry and each fixture, plus cleanouts where blockages could occur.
Support pipes properly, protect them from abrasion and freezing, and pressure-test supply lines before covering them.
Hire a licensed plumber for gas, septic, or complex connections.
Improve Insulation Efficiency
Before closing walls or ceilings, improve the farmhouse’s insulation efficiency by inspecting the building envelope for gaps, moisture damage, and thermal bridges. Repair leaks and let damp masonry dry before adding insulation; otherwise, you’ll trap moisture and encourage rot or mold. Seal service penetrations, cracks, and joints with appropriate tapes, gaskets, or low-expansion foam.
Choose wall insulation that suits the construction: breathable mineral wool or wood fiber often works better with old masonry than impermeable systems. Install continuous insulation where practical, and protect it with an effective air barrier.
Upgrade window glazing, repair frames, and weather-strip movable sashes to reduce drafts. Insulate the roof or attic thoroughly, maintaining required ventilation channels.
Around floors, seal rim areas and insulate carefully without blocking moisture escape. Follow local fire, ventilation, and energy requirements before covering your work.
Restore Character While Updating the Interior
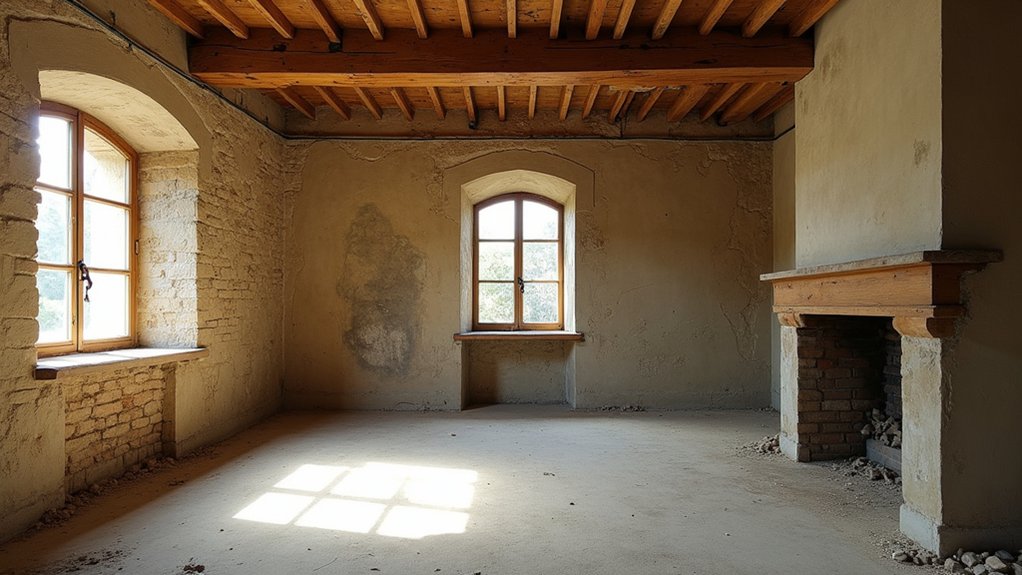
Restore original beams, stonework, floorboards, and joinery whenever they’re structurally sound.
Blend these features with modern fixtures, efficient lighting, and practical layouts.
Then choose period-appropriate finishes to keep the farmhouse cohesive.
This approach preserves its character while making the interior comfortable for contemporary living.
Preserve Original Features
Preserve original features whenever they’re structurally sound, because exposed beams, stone walls, timber floors, and handcrafted doors give a derelict farmhouse its identity. Before removing anything, inspect each element for rot, movement, insect damage, and unsafe alterations.
Ask a conservation specialist to assess valuable masonry, joinery, or roof timbers, particularly in listed buildings.
Clean gently, repair rather than replace, and retain compatible tool marks, patina, and irregularities. Photograph and label components before dismantling them, so you can return them accurately after essential work.
Use traditional materials where possible: lime mortar for old stonework, breathable finishes for timber, and matching reclaimed boards for damaged flooring.
Don’t sand away character or conceal historical details beneath unnecessary plaster, paint, or modern coverings.
Record every intervention for future maintenance and informed repairs.
Blend Old and New
Blend the farmhouse’s original character with modern comfort by pairing historic materials and proportions with discreet contemporary upgrades. Keep exposed beams, uneven plaster, and stonework visible where they remain sound, then let new elements support rather than compete with them.
Use simple cabinetry, streamlined lighting, and efficient appliances to make the kitchen functional without turning it into a showroom.
In living areas, combine inherited furniture with restrained contemporary pieces; this antique blending creates modern harmony when you repeat a few shapes, textures, or tones.
Plan technology carefully, concealing wiring, speakers, and controls wherever possible.
Improve insulation, heating, ventilation, and lighting behind the scenes, so comfort rises without erasing the building’s identity.
You’ll achieve the strongest result when every upgrade feels intentional, quiet, and proportionate to the farmhouse’s structure.
Choose Period-Appropriate Finishes
Choose finishes that reflect the farmhouse’s age, local materials, and working history while meeting modern performance needs. Research surviving details, regional building traditions, and any original paint layers before selecting replacements.
Period appropriate finishes might include limewash, breathable mineral paint, reclaimed timber, quarry tiles, slate, or handmade-looking ceramic tiles. Match profiles and textures, not merely colours: deep skirtings, simple tongue-and-groove boards, and traditional ironmongery can restore character without creating a museum interior.
Use durable modern products where they remain visually discreet, such as washable matt paint, engineered oak, or insulated lime plaster. Avoid falsely aged materials and excessive reproduction details; historical authenticity depends on restraint and honest repairs.
Test samples in changing daylight, and document your choices. You’ll create a coherent interior that feels original, comfortable, and practical.
Plan the Final Checks and Move-In Day
Before you move in, complete a methodical final inspection rather than relying on a quick visual check. During your final walkthrough, test every tap, toilet, light, socket, appliance, radiator, and heating control. Check doors, windows, locks, gutters, drains, alarms, and ventilation, and look for leaks, damp patches, cracks, or unfinished work.
Confirm that contractors have removed waste and supplied guarantees, certificates, manuals, and spare materials. Ask your building inspector or electrician to resolve outstanding compliance issues before accepting the work.
Use a moving checklist to record meter readings, photograph each room, and note defects with deadlines for correction. Arrange professional cleaning, pest control, and chimney sweeping if needed.
On move-in day, protect restored floors, label essential supplies, and keep tools available for immediate adjustments. Change locks, update insurance, and locate the stopcock and consumer unit.
Conclusion
Renovating a derelict farmhouse takes patience, disciplined planning, and professional judgment. You’ll need to assess the building honestly, control costs, secure permissions, and address structural and utility concerns before pursuing cosmetic improvements. Preserve worthwhile features, but don’t romanticize serious defects or postpone essential work. With careful surveys, qualified tradespeople, and thorough final checks, you can transform a neglected property into a safe, efficient home—giving its more challenging surprises the attention they quietly require before move-in day.
About the Author